Trailer Conversion
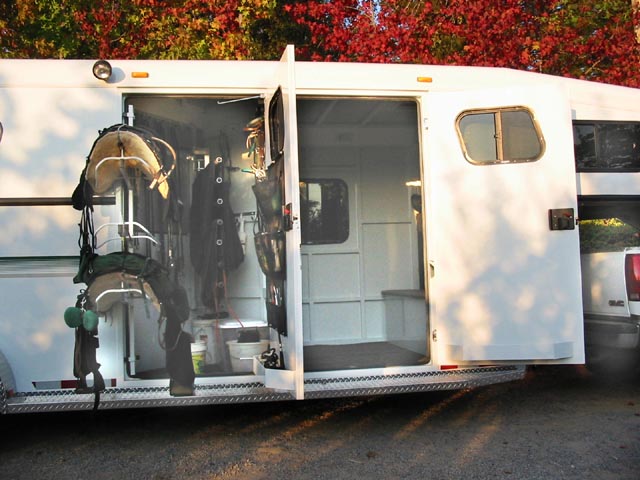
We got a side tack, which meant that we had a
straight wall instead of the sloping wall of the front stall in the
"living area". That meant a nice big window on the wall opposite
the door and a bigger space to live in.
The living area has a walk-through door to the front stall so we could put a shower/ portapotty in there if we wanted.
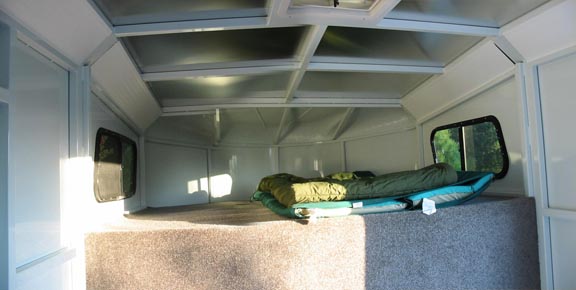
Since we opted for the "poor man's LQ" - a
bare bones area in the gooseneck, I set to making it a more
pleasant place to live in.
The basic trailer came with a small skylight, a box-seat/ step, carpet on the floor, up the side of the gooseneck and covering the gooseneck bed-area floor. It also had a light on either side. Oh, and we splashed out on a sliding mosquito net door.
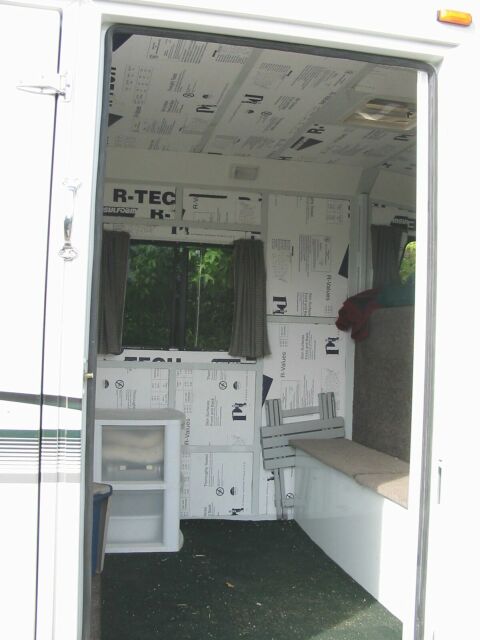
In October 2003, I bought several 4x8 sheets of foam insulation from Home Depot and spent a happy Saturday afternoon measuring and cutting out panels with the kitchen bread knife. Each panel pushed into the area between the structural ribs of the trailer.
The change was dramatic and the space, while not terribly attractive, was much, much cozier and the condensation problem went away completely.


And I made curtains (which you do need - as you discover the first time you try to undress in the coziness of your new trailer, lit up inside for all the world to see).
I mounted the curtains on curtain-wire (vinyl covered wire with hooks on each end) which apparently you can't buy in the US, so I had to get my Mumma to send some from England.
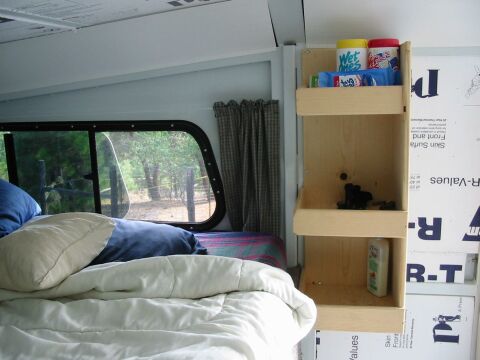
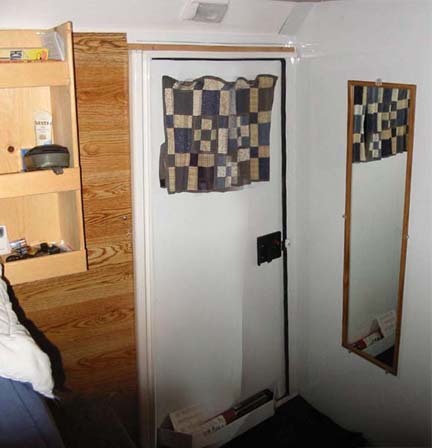
It holds reading books, HRM watch, clock, moisurising lotion, large supply of wet ones (no shower in this trailer), munchies, pens, paper, batteries, bragging-rights thermometer, hair ties, camera, truck keys, etc... etc... - basically all the little stuff you need but gets lost on trips.

Another trip to Home Depot and we bought five sheets of panelling and a box of screws and countersunk washers and spent the few days over Christmas cutting and screwing panelling in place. This was my husband, Patrick's, Christmas present to me - several days of hard labour. It was about the best present a girl could want.


One of the more annoying things about the trailer was the way the metal panels under the bed would flex with a loud "flop-flup" noise every time you turned over in bed. To combat this, we bought a big piece of peg board and wedged it in under the bed to make the floor more rigid. It solved the problem.

If I was to do the panelling again, I might use white panelling on the ceiling, as doing it entirely in wood made the trailer much darker than originally - but it's pretty cozy.

I'd like to put in a counter top, small sink, and more shelving/drawer space. A fridge would be nice too. A friend suggested raiding the Pick-n-Pack yards for old camper equipment. A heater would also be nice, but at $235 it's going to have to wait - for now the camping stove does a reasonable job of warming up the living area - until you open the door and all the warm air blows out.
Right now, my living equipment consists of a large cooler, the white Rubbermaid drawer unit (pantry foods in the top, cooking equipment in the bottom), a two-burner camping stove (I crack the window open) which sits on top of the drawer unit when in use and stows away in the box-step (hinged lid on top), the folding table you see against the wall, various other tubs for stowing "stuff" in, and a couple of folding camping chairs.
And I still have to finish the trickier parts of the panelling around the windows and on the ceiling of the nose.
All in all, though, I'm really happy with my trailer and it has been fun working on it as we go along. It has taken using it to figure out exactly what was needed.